 |
Probably no other
single maintenance change to an engine has a greater effect on
an engine than changing a dirty air filter. Lamborghini engines
suck in a lot of air! If this air flow is impeded with a clogged
filter performance suffers greatly. Fortunately Lamborghini has
designed their cars so that replacing an air filter is simple to
do.
I will describe the changing of filters on a 6.0L Diablo.
The process is much the same for all recent cars. There
are two identical air filters feeding the engine of these cars.
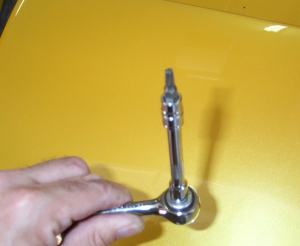
First one needs a "Toro" wrench to open the four screws that
hold the air filter cover to the air box. This wrench is
shown in figure 2 below. They can be got at most hardware
stores. An Allen wrench can also be used but the fit is not as
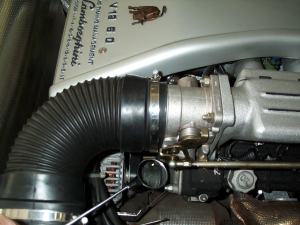
good. Figure 3 shows the screws being removed. Next
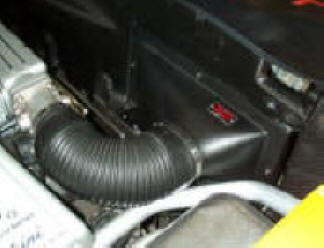
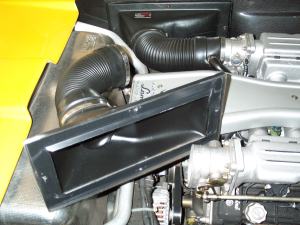
the flexible hose attaching the air filter box to the engine
needs to be removed. This is done by opening the large hose
clamp shown in figure 4. Figure 5 shows the hose
removed. |
| Figure 1. Diablo
Air Filter Housing |
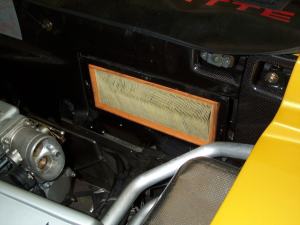
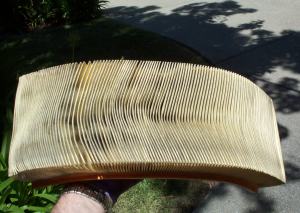
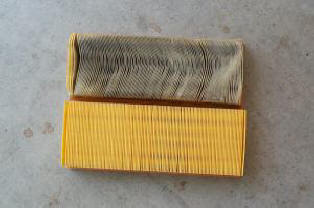
The old air filter (fig 6), is then removed from the air filter box.
Figure 7 shows a typical old filter. Note the black dist between the
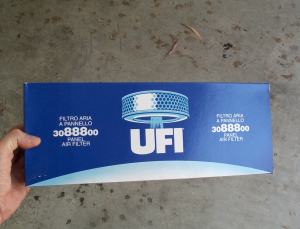
paper seams. For a 6.0L Diablo (and the 1998 and later Diablo's) the Italian UFI replacement
filter is #30-888-00 (fig 8). Earlier cars take a different
(smaller) filter. The reusable oil based K&N filter equivalent
is #33-2574 for Diablo's (and Murcielago’s).
Figure 9 shows the old and new filters
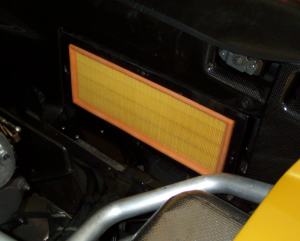
side by side on the ground. Figure 10 shows the new filter
in the filter box before the cover is put back on the air filter box.
The filter should fit in snug with no air gaps around the sides.
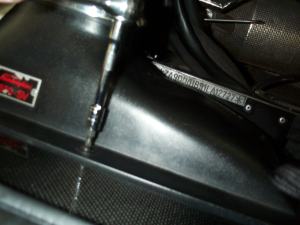
The only thing to watch in putting everything back together is to make
sure the air hose around the engine air intake is snug and even all
around the intake before tightening up the hose clamp. Use a small
mirror as shown in figure 11 to make sure there are no air gaps.
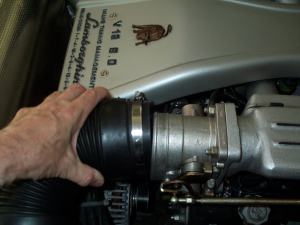
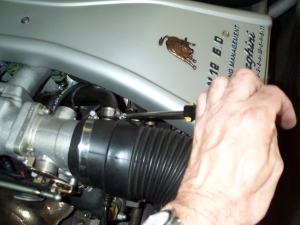
The filter assembly on the driver side of the car is the same as on
the passenger side. The only difference is that there is a hose attached
to the intake hose duct on this side. Make sure the hose is tight when
done (figure 12). It is essential that there are no air leaks into
the air intake of the engine. All air must go through the air filters.
Failure to do this will let get grit etc. into the cylinders and ruin
them.
 |
 |
 |
| Fig 2.
"Toro" wrench used to open nuts |
Fig 3. Open
four nuts of air box cover |
Fig 4. Remove
air duct hose |
 |
 |
 |
|
Fig 5.
Air box cover removed |
Fig 6. Old Air filter
in car |
Fig 7. Old Air filter
removed |
 |
 |
 |
|
Fig 8. New UFI Air filter
box |
Fig 9. Old & new filters
side by side |
Fig 10. New air filter in car |
 |
 |
|
| Fig 11.
Check under air hose |
Fig 12. Close-up
of driver side air intake hose. Note extra hose. |
|