 |

|
|
|
|
||
Repairing a Shattered Gallardo Engine Glass Cover
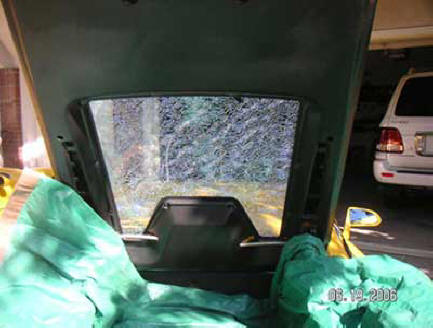
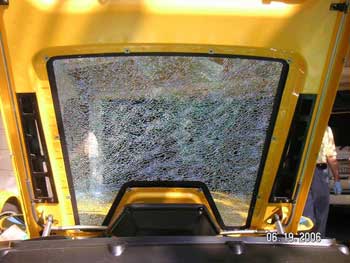
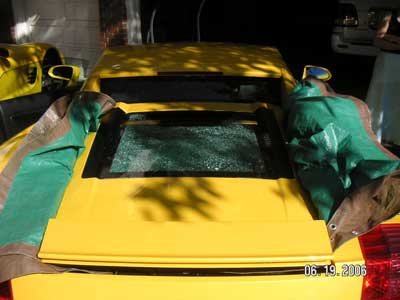
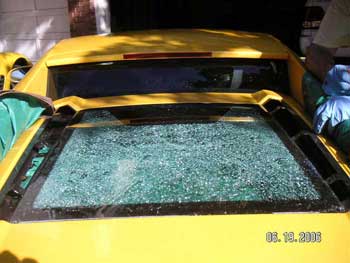
| A most unusual thing happened my 05 Gallardo last week. After driving the car and letting the engine cool down for about 2-3 hours I proceeded to wash the car. Nothing special, just simple water and car soap. I dried the car and while I was winding up the garden hose I heard a cracking sound. To my amazement the whole of the engine cover glass cracked. It continued to crack into smaller and smaller pieces for about one minute (fig 1-3). It was a warm but not a hot day (~76F). I have to stress this was definitely not a case of cold water on hot glass. I have published this observation on various forums and have gotten a number of suggestions as to the cause. It seems as though this glass is under a fair amount of stress in these cars. There are even reports of it cracking if the hood is slammed shut. I have thought about putting back a new Lamborghini OEM piece of glass, but am concerned the same thing might happen again when I am on the road. I wanted to try using a sheet of Polycarbonate. This clear very strong plastic is what is used in racing cars. It has the advantage of not shattering like you have here but is unfortunately sensitive to scratching. Here is a write-up of my experience in removing and replacing the Gallardo engine cover glass. |
 |
|
| Figure 1. Shattered Gallardo engine cover glass. |
Next we need a sheet of polycarbonate 28 and 7/8" X 25 and 1/8" about the thickness of the glass you removed. This material comes under many brand names. There are all kinds of variations as well. Such as UV resistant material, scratch resistant etc etc. I will try just the "regular" stuff for now! I should point out that the front and rear edges are slightly curved, so the rectangular sheet need to be filed along these two edges to have a good fit. Before we install the glass we need to black paint a border around the edges of on each side. Carefully cut the paper backing to exactly the black area used in the OEM glass cover (fig 11). Regular indoor/outdoor spray paint is fine. I first used the auto high temperature black spray paint. It did not stick well to the plastic. When done the plastic sheet should look like that shown in fig 12. I then trimmed the black urethane all around the window border area of the hood making sure it was even all around and carefully placed the polycarbonate sheet into position. The surface is slightly curved horizontally on the hood. To insure a solid fit I drilled 4 small holes in the corners of the sheet and into the engine hood. (These 4 holes are in an area normally covered by the OEM glass black painted area and so will normally not be seem if I later decide to go back to the OEM glass). I pressed in 4 plastic auto carpet studs to retain the plastic curvature (fig 13 & 14). The hardest part of the whole operation turned out to be getting back the 3 retaining screws fort the vent covers. They are at a strange angle and kept falling down into the base of the hood. The solution was to put a drop of glue on each nut head to hold it to the Torex socket and then with a socket extension position and screw the nut in place (fig 15). When tight the socket can be easily pulled off. Figure 16 shows the finished product. It is almost impossible tell it is not glass unless you actually tap on it with your fingers. So far I have driven 200 miles with this polycarbonate cover. No problem with heat or cracking. I have hear that some Ferrari car covers are in fact Polycarbonate. Time will tell. I am keeping an open mind for now.
|
 |
 |
 |
||
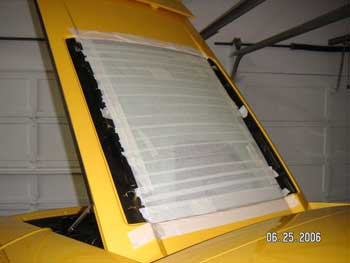
| Figure 2. Cracked Engine glass | Figure 3. Cracked Engine glass | Figure 4. Remove hood vent covers | ||
 |
 |
 |
||
| Figure 5. Hood vent covers removed | Fig 6. Tape up shattered glass on inside | Fig 7. Tape up shattered glass on outside | ||
 |
 |
 |
||
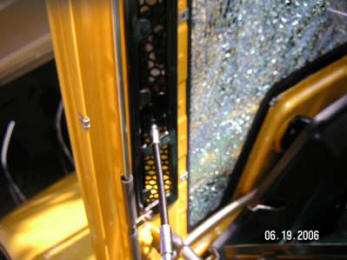
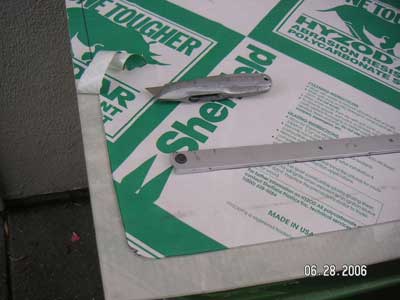
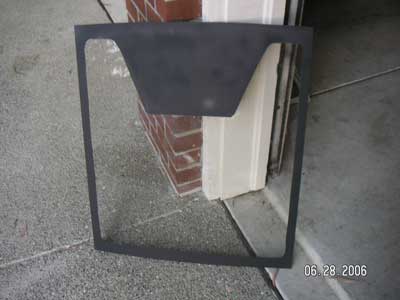
| Fig 8. Glass seal cutting tool | Fig 9. Cut glass seal | Fig 10. Glass removed | ||
 |
 |
 |
||
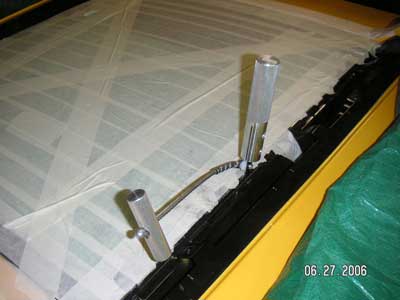
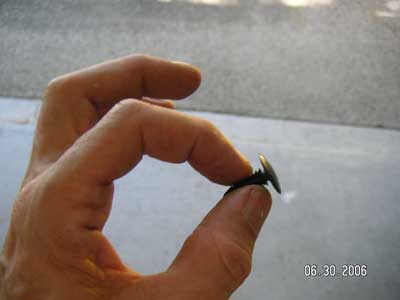
| Fig 11. Remove paper around edges of polycarbonate as a paint mask | Fig 12. Painted plastic cover | Fig 13. Carpet retainer stud | ||
 |
 |
 |
||
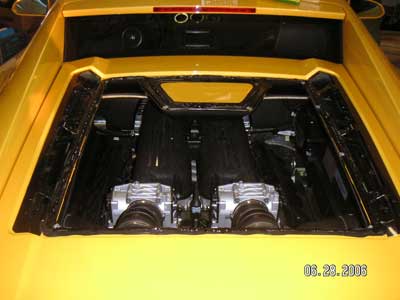
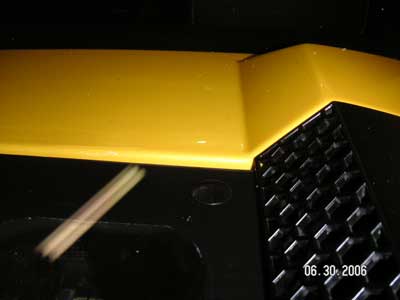
| Fig 14. Retainer in place | Fig 15. Glue to hold nut in place | Fig 16. Finished Polycarbonate plastic window |