|

|
|
|
|
||
Testing Spark Plugs and Spark Plug Coils On A 6.0L Diablo
Each spark plug in a 6.0L Diablo has its own
ignition coil directly on top of the plug itself. This arrangement known
as "Coil On Plug" or COP allows for a very efficient control of engine
timing. A low 12v lead goes to each COP where it goes to an induction
coil. The secondary coil lead goes directly to the
plug
socket. Because there are no high voltage leads going along the engine
top to each coil higher voltages and sparks can be obtained.
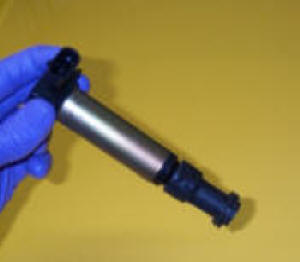
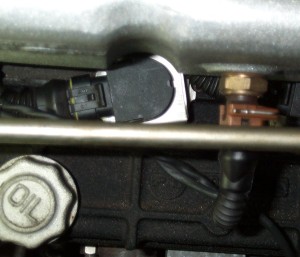
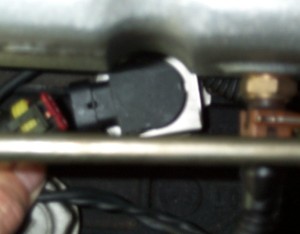
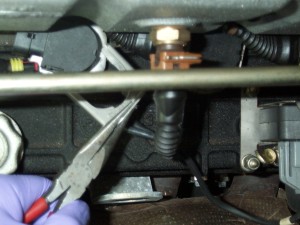
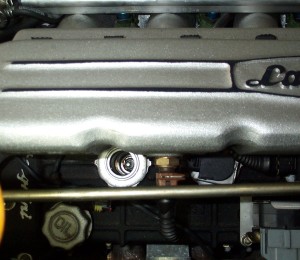
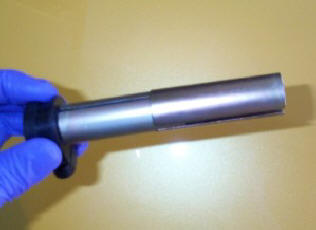
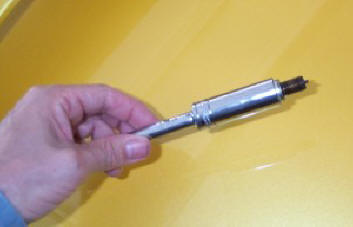
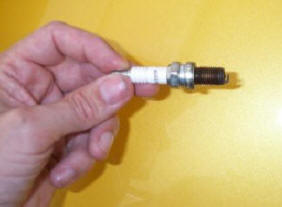
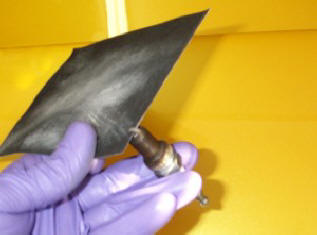
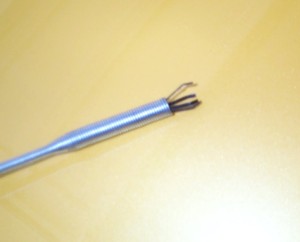
The only problem is that sometimes these coils short out. They are buried deep within the engine (see below). Normal coil testers will not work because the probe cannot be placed along side the actual coil. To test each coil you need to remove the complete COP from the engine. Since there are 12 of them this will take some time. Figure 2 shows the COP for cylinder #6. As you can see it is buried deep within the engine. To remove the COP first unclip the 3 pin electrical socket. Be sure to label each socket wire 1-12. Next you must slide the aluminum clip sideways as shown in figures 3 and 4. Them gently pull the COP straight up rotating it slightly from side to side along the way. These COP's are coated with a silicon grease so the come up slowly. Figure 1 shows a removed COP and Figure 5 shows the actual spark plug deep down in the engine. To checkout the COP first do a visual inspection looking for any burn marks or cracks. Check there are no carbon deposits in the rubber shoe that fits over the spark plug itself. Next examine the electrical socket on the top of each COP. There are three pins numbered 1,2 and 3. With an meter measure the resistance across leads 1 and 3 (fig 7). It should be about 1.2 ohms. There should be an infinite resistance between leads 1 and 2, 2 and 3, and the outer metal jacket and to lead that goes to the plug inside the bottom rubber boot. The rubber boot peels off from the base of the coil unit and is shown in figure 8. The body of the COP unit is wrapped in two brass metal sheets that slide off the unit (fig 9). These should be checked for corrosion. And should be covered in a thin layer of silicon grease. The inside of the rubber boot should be clean, free of carbon deposits and dry. The spring should be as shown in figure 9. Next the plugs themselves should be examined. They are buried deep within the engine. A socket wench as shown in figure 10 is required with a long extension bar. Figure 10 shows an isolated plug. As with all car plugs they should be free of oil, soot and other deposits. The spark gap should be 22mm. It is often helpful to use some fine sand paper to lightly clean the spark gap surfaces as shown in figure 12. Getting the plugs out and in requires that you use a long wire grab tool with prongs as shown in figure 13. These are available at most auto stores. The plugs should be torqued th about 180 lbs. If you are getting a check engine light due to misfires and suspect a coil on one side of the engine, switch the coil with another on the opposite side of the car. The L or R check engine light should also change. As far as putting the coils back into the engine, nothing special just reverse the instructions given above. Be sure the clips are installed correctly. The COP cannot be pulled up if the clips are in correctly. This in fact is the hardest part of the whole operation. The clips go in only one way. The COP leads should be at 8 o'clock, the clip back surface is at 2 o'clock as shown in figure 2.
|
||||||||||||||||||||||||||||||||